We all have our own way of post-processing images and I’m not here to tell you the “right way”, but I am here to say that the one thing I do to every single image is add a vignette to it as a final step and I highly recommend you to vignette your images as well. These days I think of this as an essential step of my post-processing. Why do I feel so strongly about vignetting everything?
First, a vignette helps direct the viewers eyes in the image. One of my goals of photography composition and post-processing is to clearly communicate with the viewer what the subject is and what the important parts of the composition are. One way of doing this is how I construct my composition in the field. An additional way to do this is using “light shaping” in post-processing. In essence this is working with lights and darks in an image to direct the viewers eyes to where I want them to look. Our eyes will always be drawn to the brightest parts of an image and will pass over darker areas. In post-processing I utilize this behavior to either bring lights to the areas I want the viewers to pay attention to, or, work with the darks to de-emphasize certain areas that aren’t as important. I use dodge/burn, layer and luminosity masks and other tools to work on specific areas of an image, but the last step I do is add a subtle vignette to the image to further direct the eyes away from the edges of the frame towards the middle parts of the image where my more targeted light/dark adjustments can take over directing the eye.
Secondly, a vignette adds dimensionality to an image. Photographs are 2-D representations of a 3-D subject and oftentimes they look flat and dimension-less represented on screen or in print. One way to bring dimensionality to an image is through the use of lights and darks to add visual depth to an image. Besides the above mentioned tools, adding a vignette to your images will add some dimensionality to the final output. With darker edges and a lighter center, the perception is that there is depth from front to back and side to side.
When I add vignettes, one thing that is extremely important to me is to be subtle about it so the viewer doesn’t consciously recognize I’ve added one. The ways to be subtle in controlling the vignette is 1. the overall darkness value of the vignette…don’t be too dark/strong 2. the feathering between the dark parts and light parts of the vignette….a nice gradual feather and 3. the size of the vignette and how much of the image it covers….which depends on the image. Of course, it’s up to you what you prefer when you vignette your images.
There are a multitude of ways to add a vignette to your image and all are relatively good. I personally use NIK Color Efex Pro or TK7 Actions to add vignettes to my images when I’m working in Photoshop. In Lightroom, I use the Vignette slider for a quick vignette, or, I use the radial filter to draw out the vignette I want and then adjust the exposure value. Of the 4 I mention, 3 of them allow you to place the center of the vignette where you want it. (the LR vignette slider is the exception). Sometimes you don’t want the vignette centered in the image, your subject may be off center and you want the vignette to also be a bit off center.
Examples
Lets take a look at a couple of examples. Remember, the effect is very subtle and one that I hope the viewer doesn’t see, so no guarantees that you’ll see it below (I hope you do)
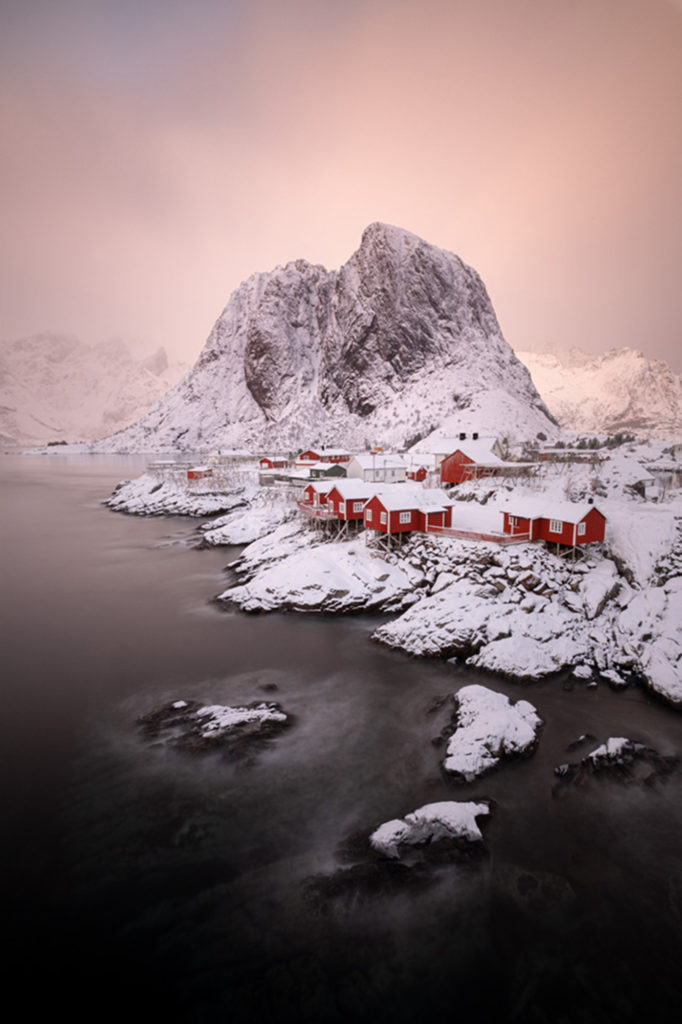
Here is a shot from Norway that I’ve processed. It DOES NOT have a vignette on it. Sure it’s nice, but to me it feels a bit flat. So, as a last step, I added a SUBTLE vignette and placed the center of the vignette on the red cabins.
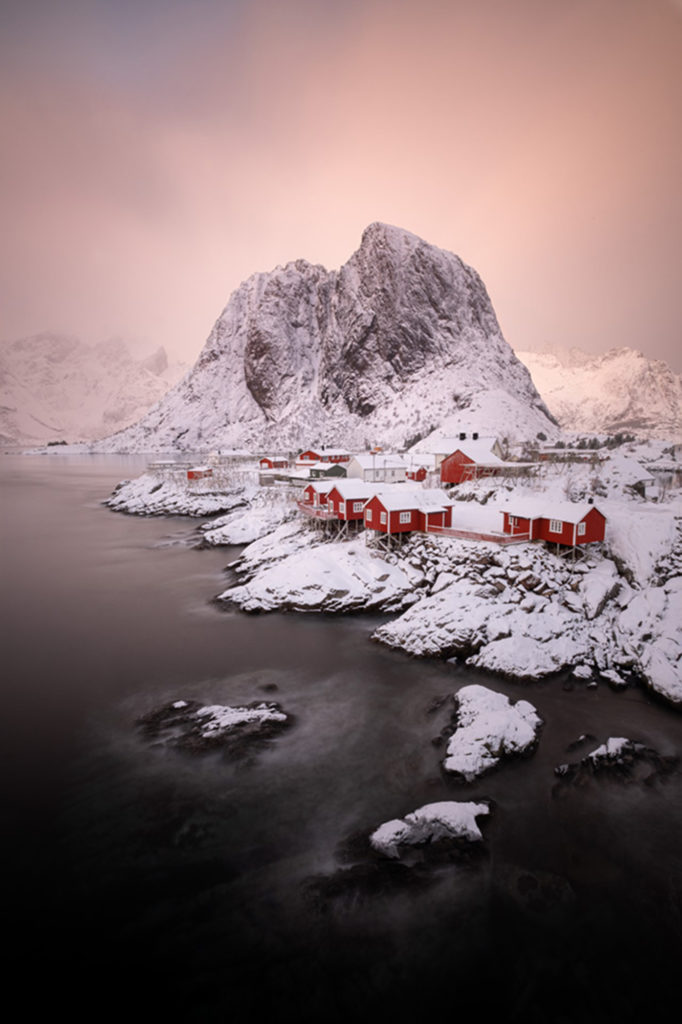
Again, it’s a very subtle effect but one that emphasizes the cabins and shoreline which is the main subject of the photograph while de-emphasizing the surrounding landscape a small amount
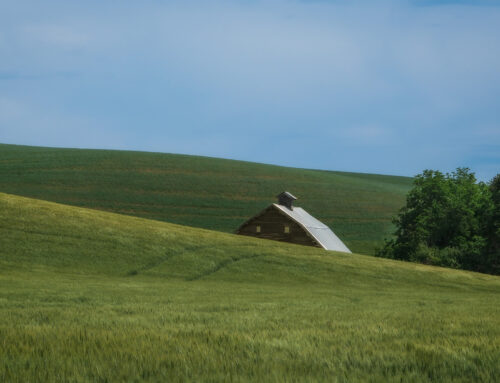
Here is another example from the Palouse in Washington of a barn under cloudy skies. You’d think I wouldn’t need to direct the viewers eye that much since it’s very evident what the subject is. Right! What struck me though was that under such a big sky and wide open spaces, the sense of dimensionality didn’t come through as much as I wanted it to in the photograph.

So I added a slight vignette to the image with the center point of the vignette on the old barn
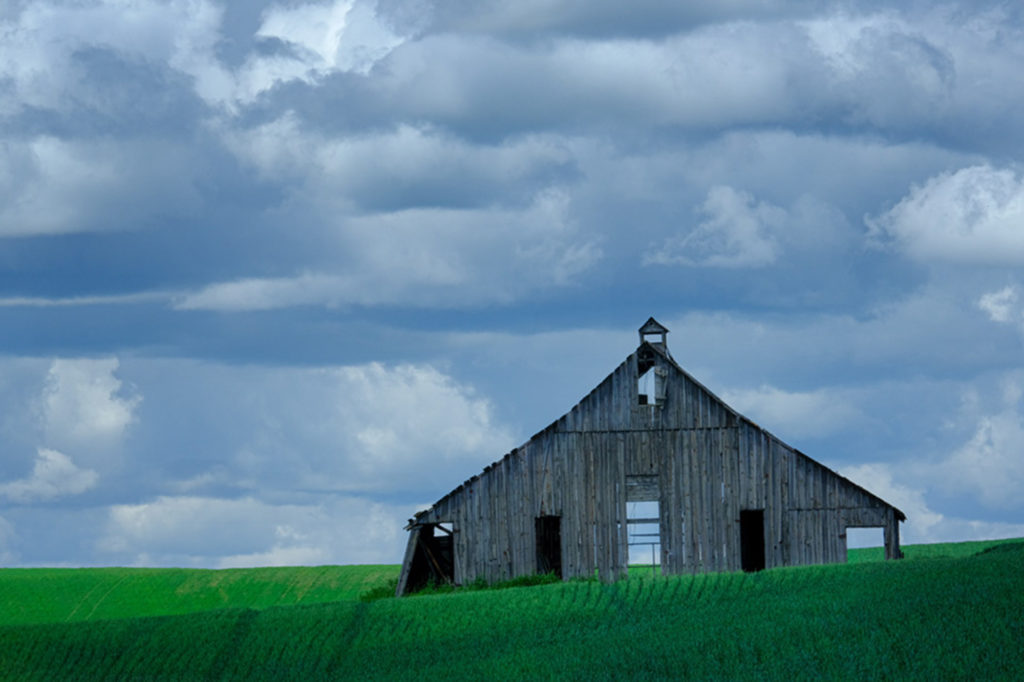
Doing this darkened the edges a slight amount and brought the much needed dimensionality to the image.
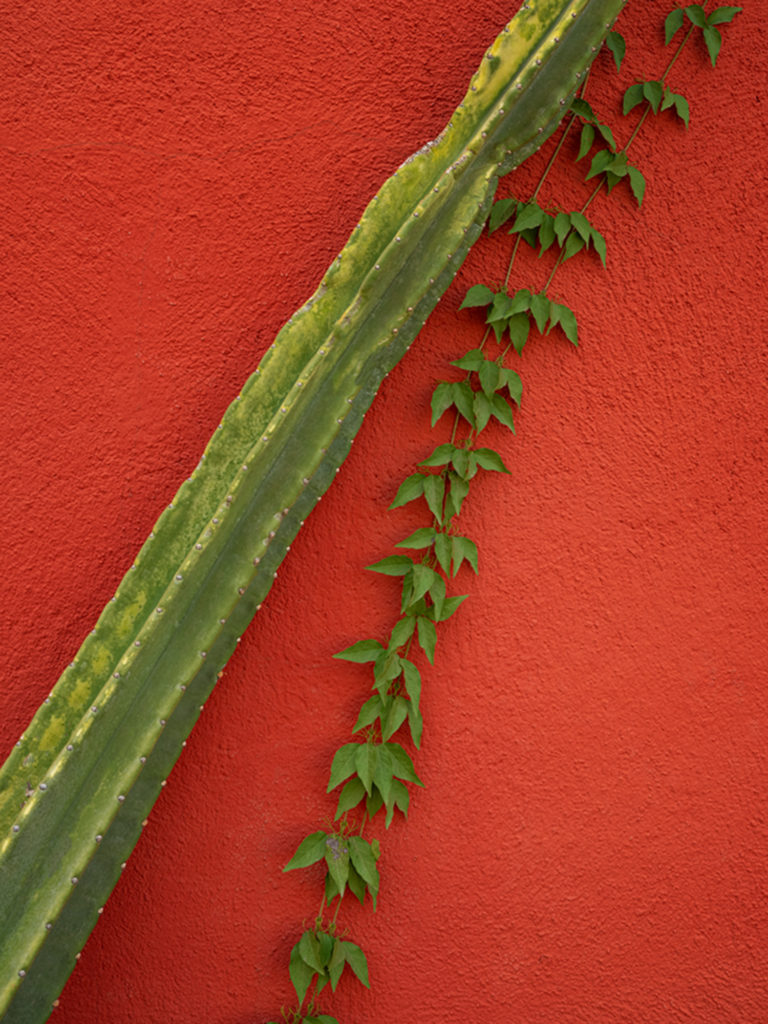
Vignettes can and do work on all types of images. Here is a shot that I took in the Barrio of Tucson of a red wall with cactus and plants growing up it. Talk about 2-D!!!! Very flat.
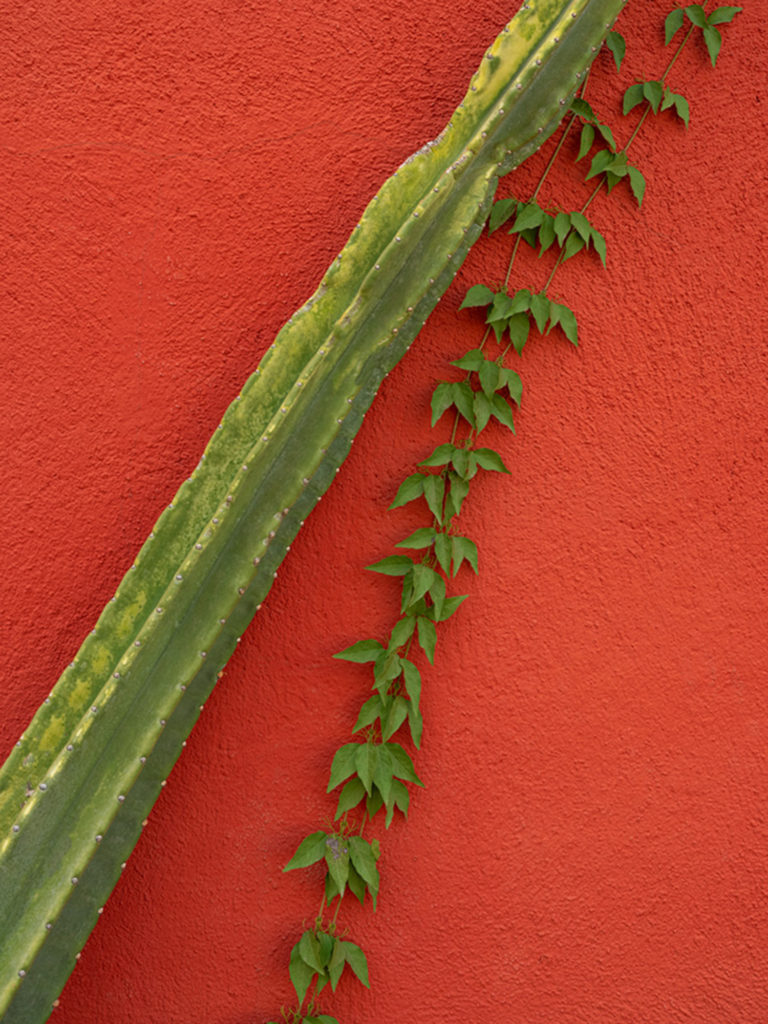
Again, no big need to direct the viewers eye since it’s very obvious where to look. But again, adding some slight dimensionality to this image I feel makes it more interesting and perhaps the viewer may linger over it longer.
Conclusion
Adding a vignette is an essential part of my post-processing workflow and I highly encourage you to vignette your images. It is an easy way to add dimensionality and direct the viewers eyes to what’s important. Just be subtle about it so they don’t know you’ve done it.


Leave A Comment