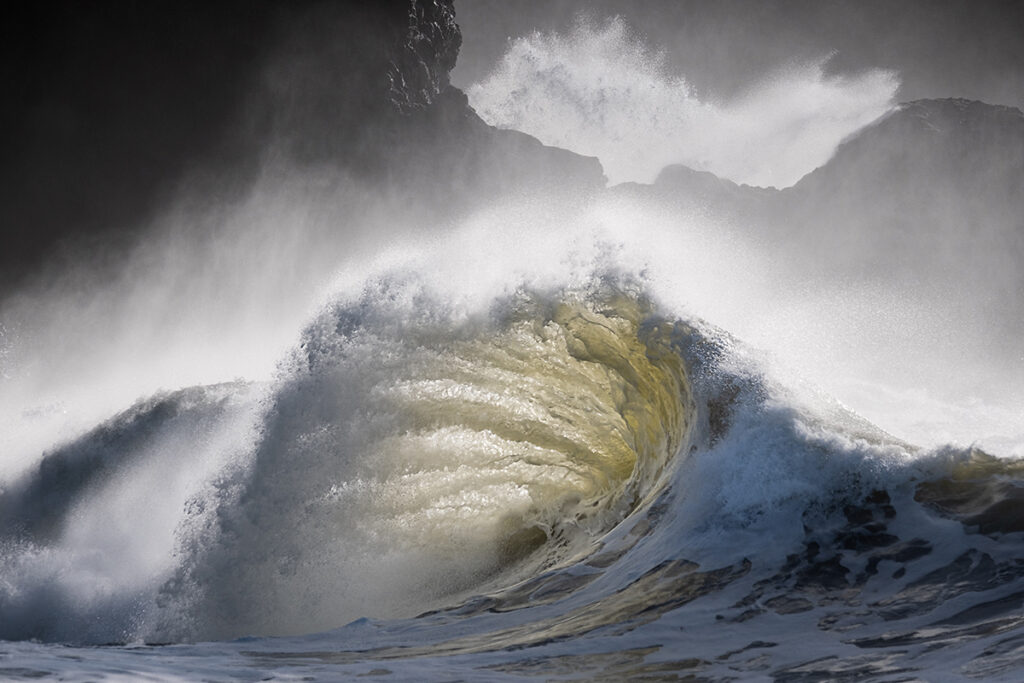
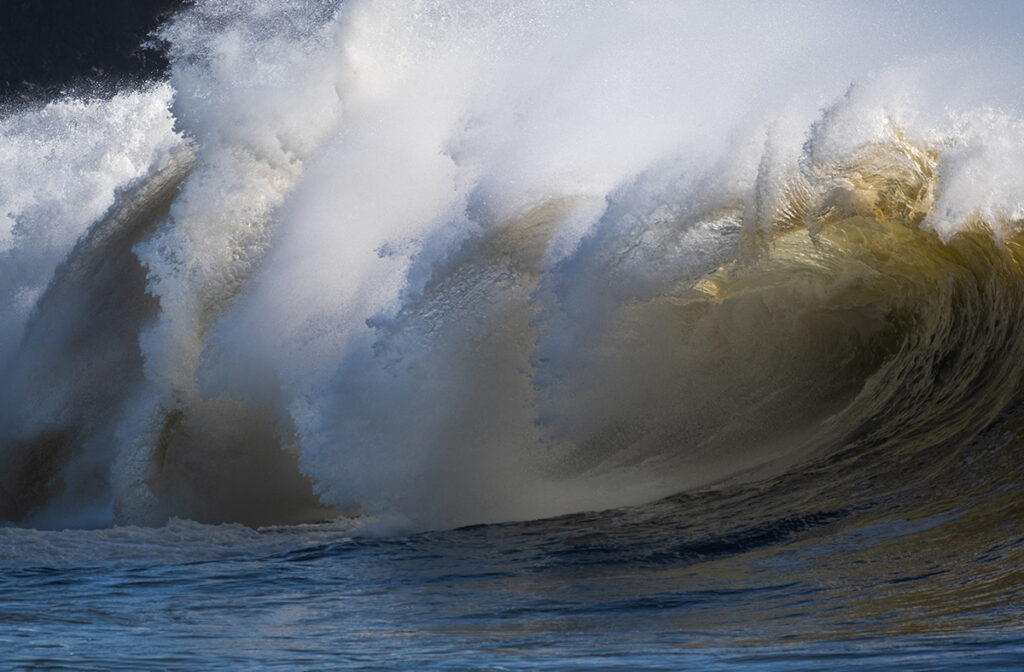
I gotta be honest, I could spend hours photographing waves. When you have the right location and have a good vantage point on the waves and how they break, each single wave is unique and with that uniqueness, there is an opportunity to create a unique photograph that I will never ever see again. Capturing the shape, the motion, the texture, the interplay of dark and light, the immense power and the subtlety of the waves is something I find extremely rewarding and challenging at the same time.
Recently in the Pacific Northwest there was a round of King Tides, which is another way to describe exceptionally high tides. These higher than normal tides typically occur during a new or full moon and when the Moon is at its perigee, or during specific seasons around the country. Along with these higher tides was the increased possibility for sneaker waves as well, which meant that anyone venturing near the ocean needed to be extra vigilant and don’t go too close.
Locations
Those of you who have ever enjoyed photographing waves know that finding the right location is key to rewarding images. Having that “right” angle to view and photograph the waves can make or break an outing. Along typical 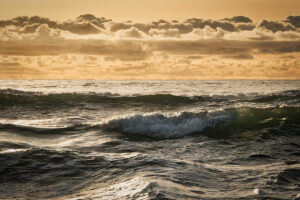 coastlines the viewpoints are on the beach area and the waves are headed directly at you. This can result in some good photographs, looking straight on to the waves, yet it can feel somewhat limiting.
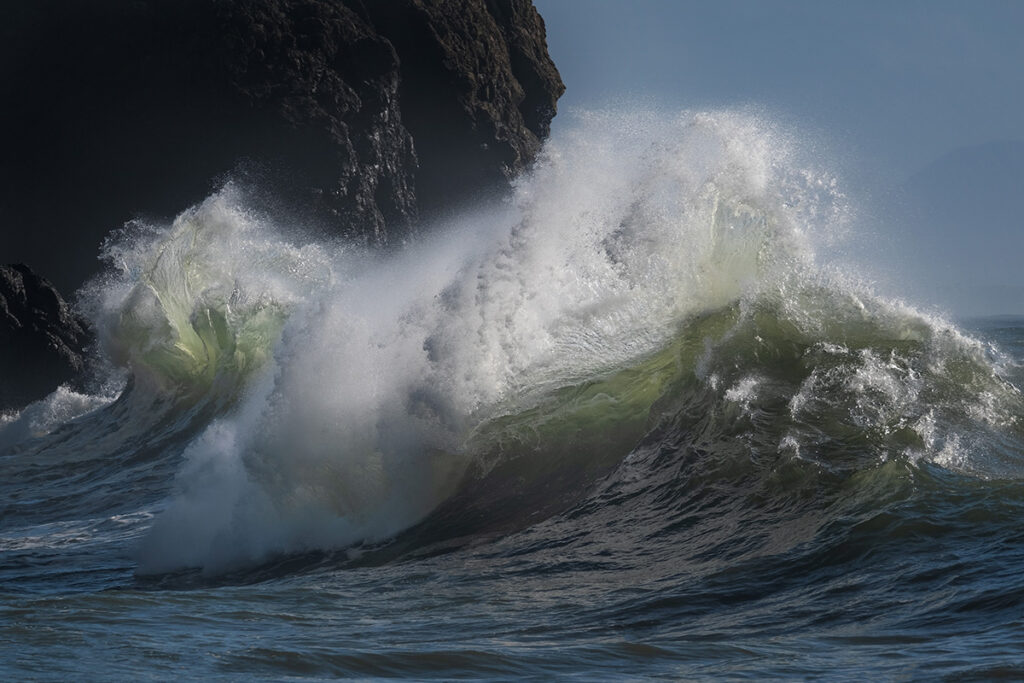
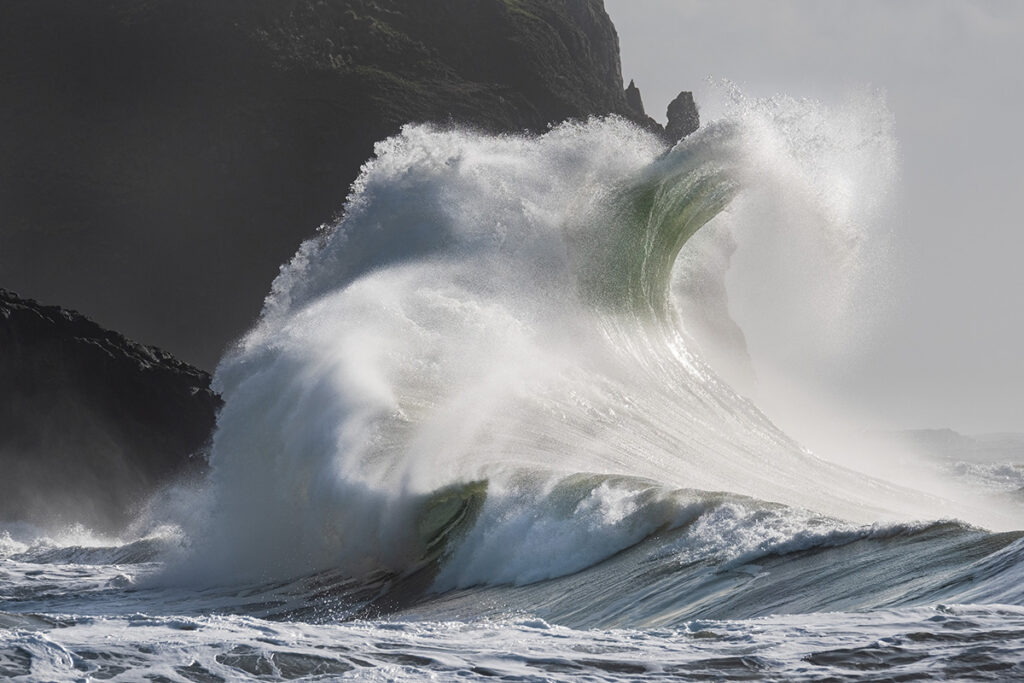
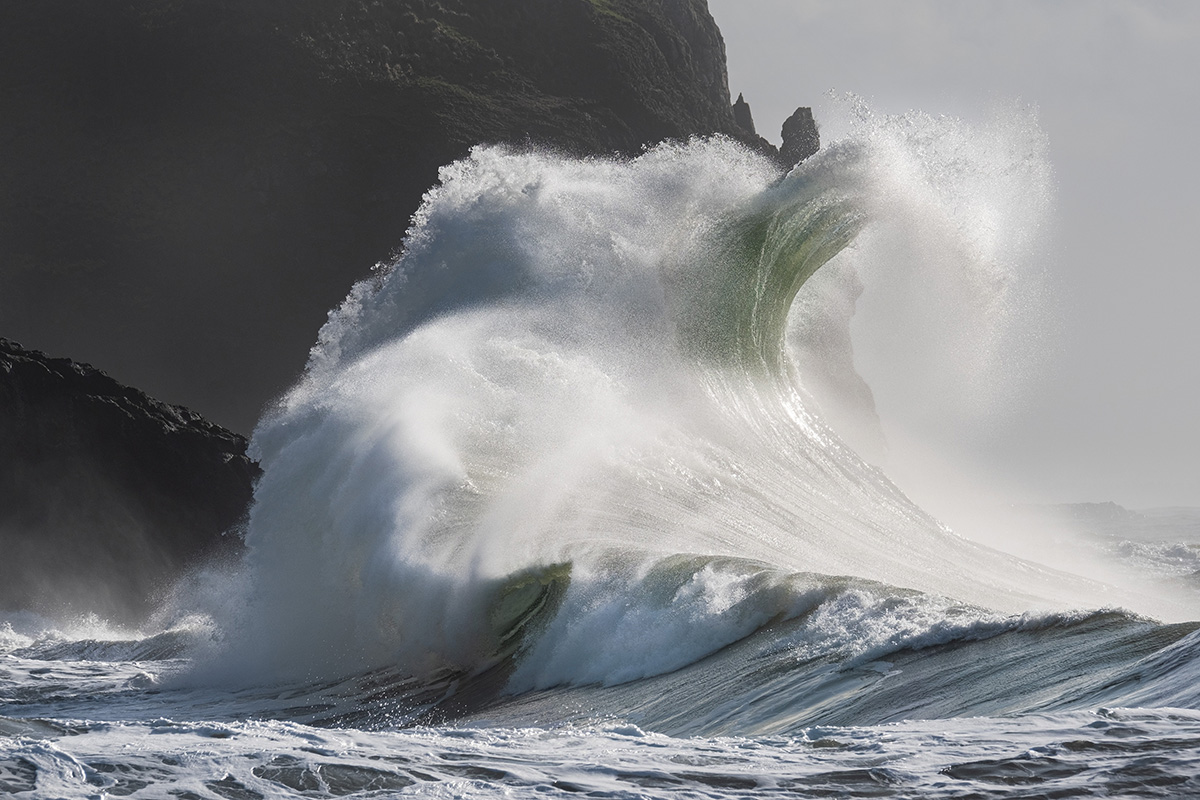
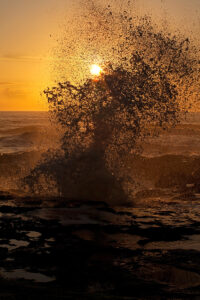 Also readily available (at least in the PNW) along rocky coastlines are small outcroppings of rock that allow you to get further alongside the waves to catch the curl of splashes as the wave crashes on to the rocks.
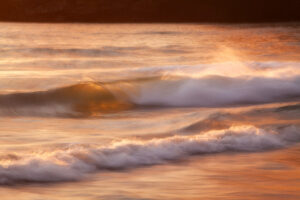
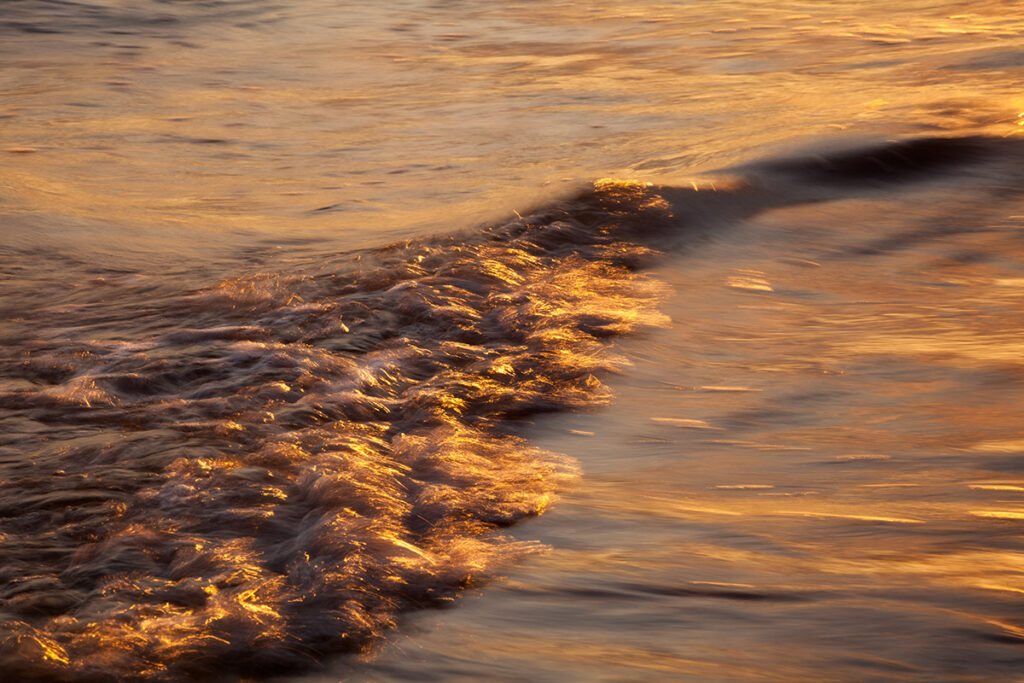
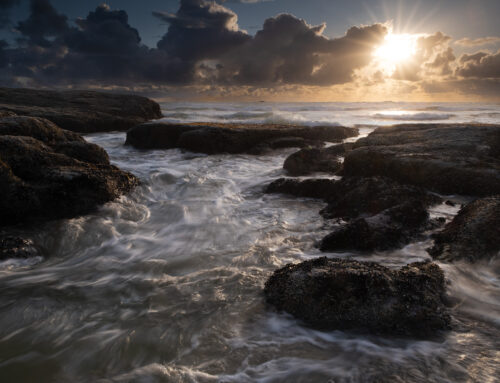
Even if you don’t have a rocky coastline, but instead have a smooth sandy beach, you can still have fun photographing smaller waves, making more ethereal or abstract images. Capturing the motion of the waves can be a fun challenge as well as recording the multitude of shapes that the waves create. Even just working with the interplay of light and dark on the different parts of the waves can be highly rewarding and produce some great images!
If you are really lucky, you might have a location near you that affords you a view of the waves that is almost perpendicular to the wave break. Being able to see the curl of the waves and look along the swell of water is absolutely amazing! So much fun art and creative captures can happen when you have more to work with and this is the case when you can find areas where you can shoot more of the side of the wave. Along the Oregon and Washington coasts we have many big rock outcroppings that allow us to get further “out” in to the ocean to photograph waves from a more perpendicular perspective. One of the most famous areas is Cape Disappointment in SW Washington which affords a fantastic view across a bay towards a lighthouse with some incredible wave action during high tides.
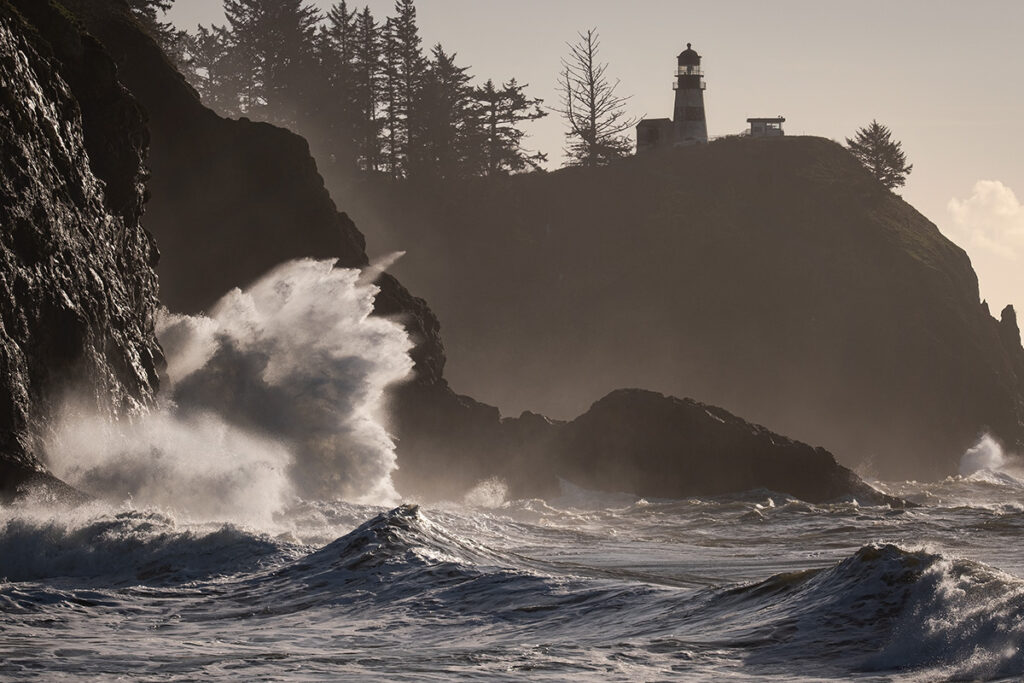
Cape Disappointment Lighthouse
Mechanics
Photographing waves doesn’t require any special talent or gear. Its an easy activity to do and for some can be hours of fun! The biggest considerations to think about is “what kind” of wave photography do you want to do (abstract, shapes/textures, power, etc) and what are the tides and angle of the sun. Sunrise and sunset of course offer some very nice low angle light that can compliment the abstract shapes that waves can produce, and is more favorable for longer shutter speeds. If you want to capture the power of the ocean, typically this means faster shutter speeds to stop the motion of the waves. To do this you will need more light (shoot during day) , or higher ISO, to get enough shutter speed.
Lens – A medium to long telephoto lens is highly recommended as it lets you get good “reach” out in to the ocean to bring the waves close, fill the fame, and compress some of the scene to create more drama. You can often achieve similar results by shooting wide and cropping, but you lose so much information in cropping! Try to get it as right as possible in camera by using a suitable lens. 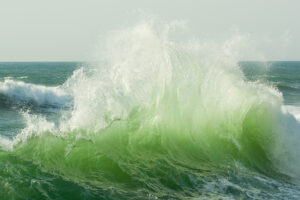
Aperture – I will typically shoot around f/5.6 to f/8 for most wave sessions. If I am shooting along the face of a long wave, I will go up to f/11 to get a larger depth of field
Shutter Speed – Of course there is no right answer to what is the “right” shutter speed to use. It all depends on what you want to capture. My wave photos range from 1 second to 1/800 second depending on the volume of water, how fast it is moving and what I am wanting to do creatively.
Metering – I am more focused on the immediate face or one particular spot on the wave and I am not as concerned with the metering across the rest of the scene. I will typically switch to Spot or Center Weighted on my Fujifilm cameras.
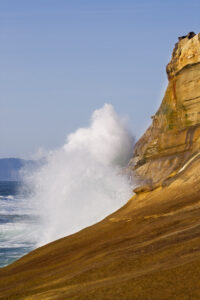 Focus – I have found that there are frequent times that cameras cannot focus quickly on a wave and I miss shots. My technique these days is to find the area where there is wave action that I want to photograph and manually focus on that area and then not rely on the camera to achieve focus each time I depress the shutter button. Typically the shape of the shoreline will create some consistent behaviors in the waves and by being observant you can spot areas where the wave action is unique or bigger than in other places and its these areas that I’ll choose as my “photographic zone” and I’ll set my focus in that area. As I’m photographing waves, if I happen to spot something happening outside of my pre-focused area, I can quickly use back-button focus on the new area and grab a few frames (then have to refocus on my original zone)
Burst – I set my camera to the high speed burst mode to capture the big action or low speed burst in low light or when the movement is slower. I begin capturing the sequence by anticipating the wave, depressing the shutter button and keeping it held down until the action passes. By having the entire sequence I can then select the image that I prefer based on wave shape, action, light/dark, etc., when I get home. Trying to capture action in a single shot mode just doesn’t work well as we can’t anticipate the unique nature of waves as they morph on their way to the shore.
Processing
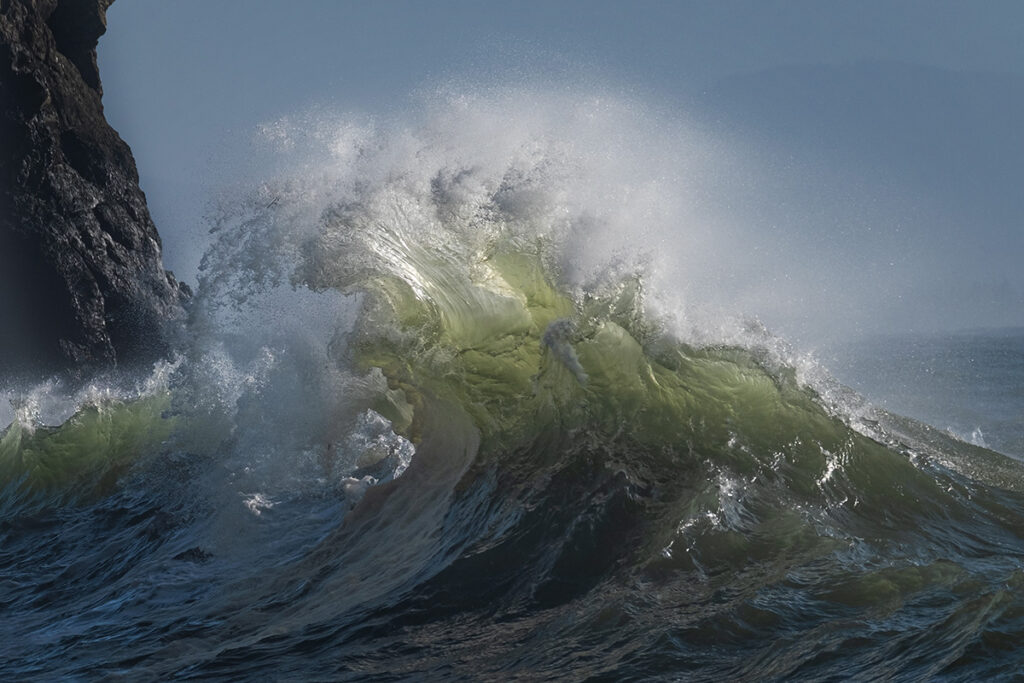
Because photographing waves is largely about photographing color, pattern and shape, its really up to you how you want to process them. What I have found though is when you can capture some of the color of the water in the shot, to accentuate that color as much as possible as a contrast against the white spray and dark shadows that can develop as a wave curls up. How much contrast and dynamics in the image is again up to you.
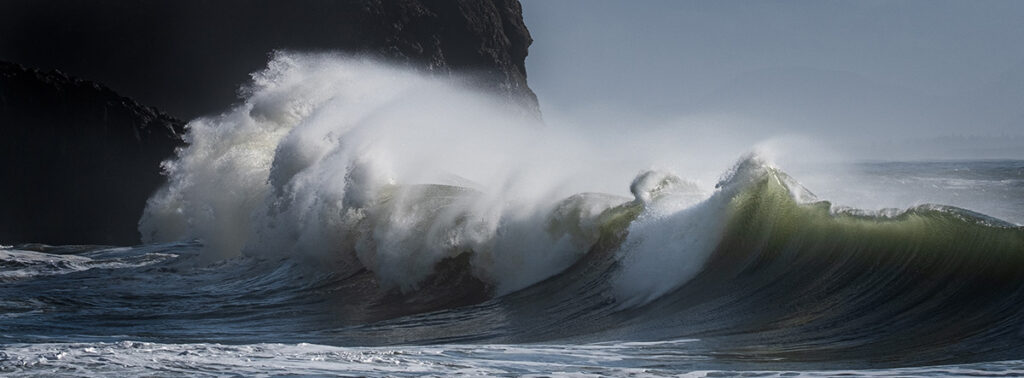
I do really enjoy when the angle of the sun is behind the wave and shines through the upper portion of the wave, highlighting the color and texture of the wave.
You also do not need color in wave photographs so don’t be afraid to experiment with monochrome processing. There is such a tonal range in wave images that you can probably cover most, if not all, of the Zones in an image.
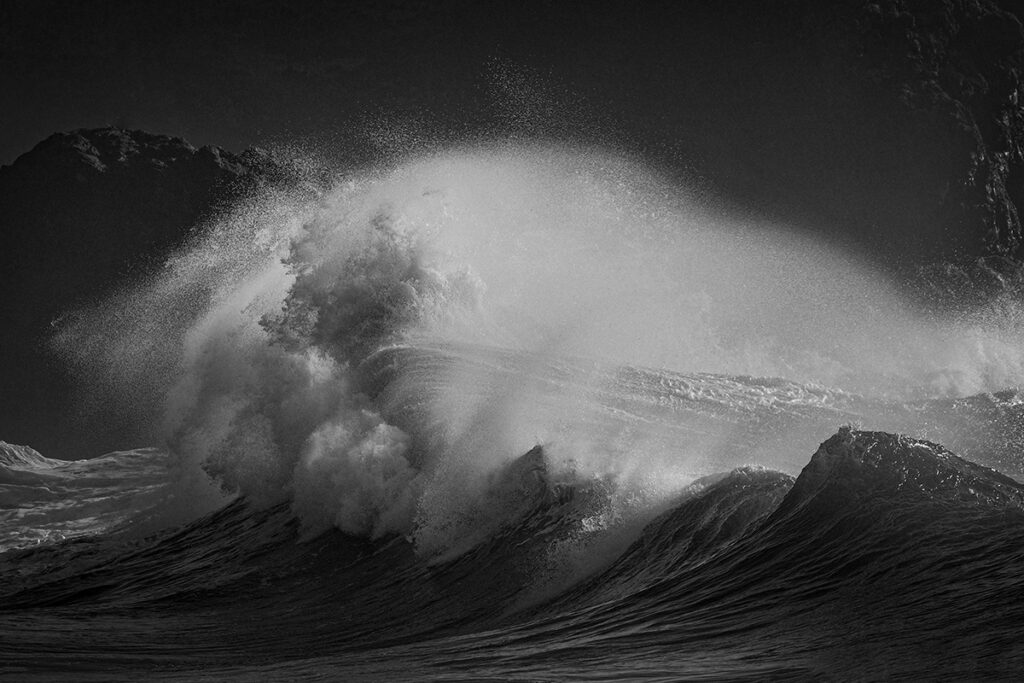
Photographing waves can produce an almost endless variety of shots. Each wave is unique and can offer a multitude of different compositions depending on how tight or how wide you choose to capture the wave. The ocean is the most powerful force on our planet and capturing the force, power and beauty of the ocean can be a very connective moment with nature. You can capture the raw beauty of the ocean, the amazing complexity of each wave, the immense power as it crashes in to the rocks…the possibilities are endless. I encourage each of you to try your hand at photographing waves during your next trip to the coast. Whether you have a rocky coastline or a gently sloping sandy beach, you have the building blocks to create compelling images of this incredible force.

Amazimg photos!!! I was at the coast during the recent King Tides and was so frustrated!! This article hit home! I was having a heck of a time with the focus! I have not used my camera in a long time so am also way out of practice. I’ll go again soon when I take my time and think about what I am doing! 🙂 Thank you for covering this. Your wave photos are great!!
thanks for the comment Lisa. I’m glad that the article helped you think about executing wave photography. Good luck on your next outing. For sure slow down and experiment with different techniques and see what works for you and your equipment.