Just a quick post for you today about shooting high contrast scenes like I recently experience in the Tetons in early December. High contrast scenes can occur almost anywhere from grand landscapes to wildlife and even architecture. It’s important to know about your cameras metering modes and how it sees the scene, and then make an informed decision about what you want to do with the scene, how YOU want to “meter” the scene by determining which tonal ranges are most important to protect and which ones aren’t as important.
Camera Metering
I hope that if you’re reading this, you have a at least a basic understanding of camera metering, so I won’t go in to depth about how it works or the logic behind. For the sake of this article, I will summarize by saying that if you are in fully automatic mode, that the camera will read the light values hitting the sensor and make a decision on the best camera settings to capture a balanced exposure across the entire scene. What this means for high contrast scenes is that the highlights may be blown out and the shadows could be blocked up, losing information at both ends of the spectrum. Most cameras have a menu item for specifying HOW you want the camera to read the light in the scene based upon your subject, your story and your creative decisions. Although the names may differ across camera brands, they all have similar functions
Spot Metering – The camera will make exposure readings based on a small spot that you can place anywhere in the frame
Center Weighted – The camera will evaluate the entire scene, but give a high priority to the center of the composition, assuming that is the most important part of the image.
Average – The camera evaluates the entire scene, giving all areas equal weight, to make its exposure reading.
Based upon your subject and creative desires, you can choose which metering mode works best for you. In my experience, choosing the “right” metering mode isn’t critical to achieve a good exposure for most situations. However, when photographing high contrast scenes, those with deep darks and bright highlights, it is crucial that you meter the scene for what is important to you as the artist. If you are not familiar with your cameras metering, please do yourself a favor and read the instruction manual.
High Contrast Scenes
I recently returned from Grand Teton National Park and during my trip there, I had many opportunities to photograph animals in the snow which is something that I love to do. I have led workshops in the park for the past 10 years and each year I enjoy the challenge if photographing these animals and getting the exposure as “right” as possible in the camera. It’s not always easy!!!! This year, we had lots of snow and a couple of days of bright sun, which made for blindingly white backdrops for the animals. Added to that, bison and moose have VERY DARK coats which further raises the challenge by creating high contrast scenes where I needed to nail the metering and exposure to achieve a good finished product. On a bright sunny day, the tonal range between the bright snow and the dark animal was much larger than any camera could capture, which made it a huge challenge to expose the images. I had to make creative/artistic choices which parts of the scene/subject I wanted to expose for and which other parts I didn’t care as much about.
In years past, I have tried all the different metering modes to capture these animals in the snow. Idealistically, and hopefully, a few years ago, I worked hard to shoot in Multi or Center weighted metering, with the goal to have the animal exposed well enough and the snow exposed well enough that both could be brought in to exposure alignment on post-processing. Mostly I was not satisfied with these attempts because either the animal was just too dark to recover well in Post, or the snow was not looking natural. In some scenes with less contrast, that goal could be achieved.
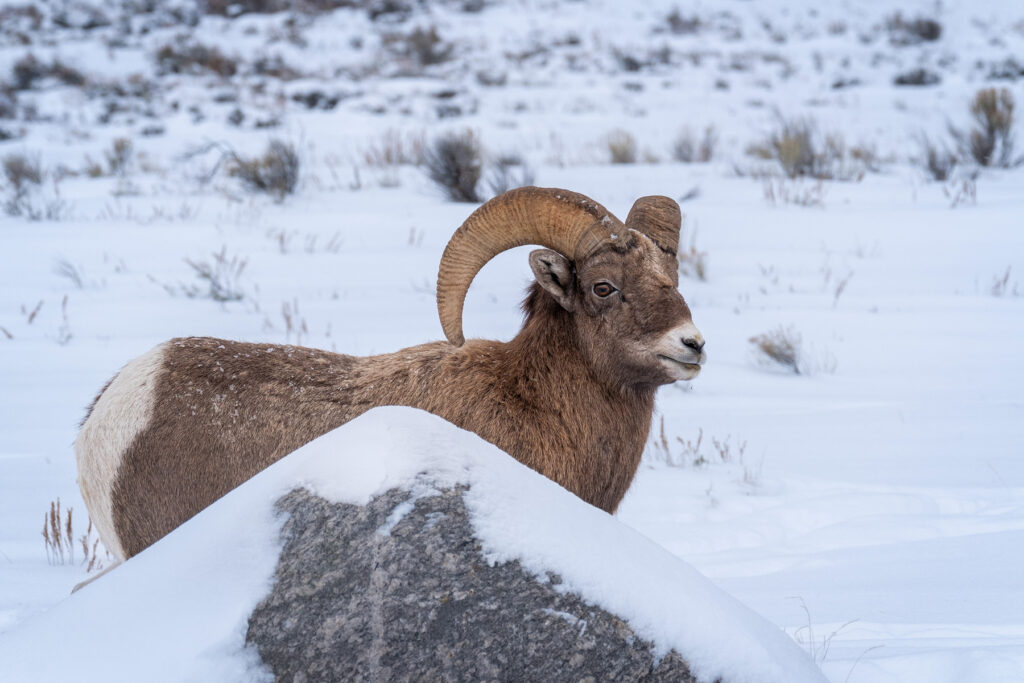
The above shot of a bighorn sheep was taken late afternoon under cloud cover. It was not one of the dreaded high contrast scenes. Don’t get me wrong, there was significant tonal differences between the darkest part of the animal (behind its ear) and the white snow around it. But, it was enough that I could use a Center Weighted metering mode to get the best of both worlds; the animal exposed well enough without the shadows blocked up, and, not blowing out the snow. This was a relatively easy shot to meter.
There were a few other occasions where I avoided high contrast scenes when photographing wildlife. One of which is the moose image below.
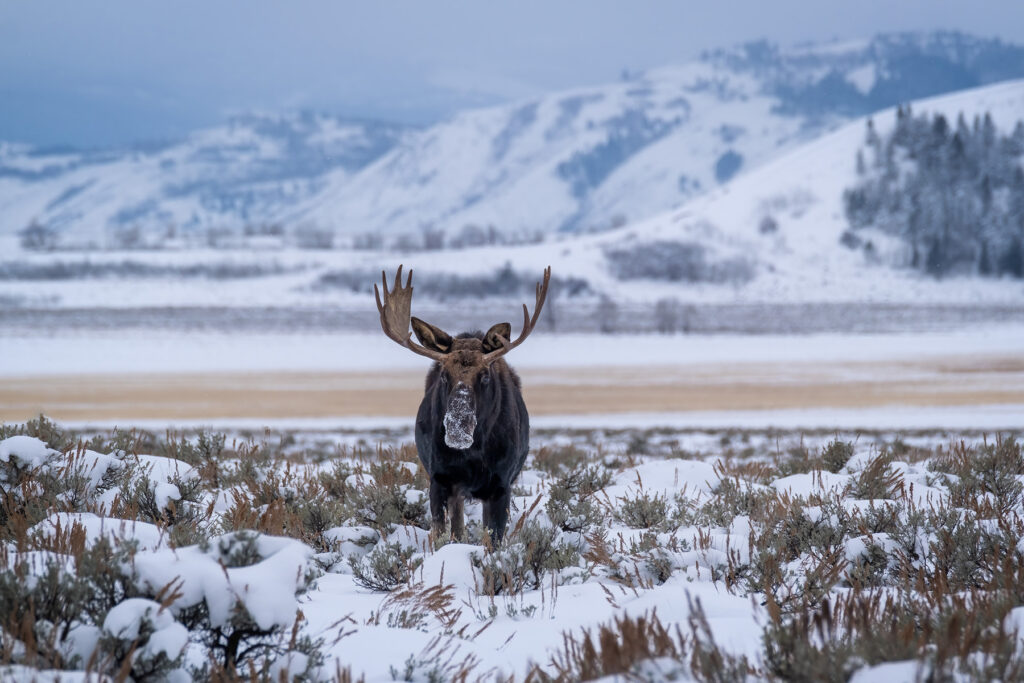
Again, I enjoyed cloud cover over this moose in the scrub, which helped me not over-expose the snow while retaining enough detail in the shadows that I could then bring out in post-processing. Plus, the overall “feeling” of this image I wanted to keep a bit subdued, feeling cold and a bit lonely, which meant I could keep things a bit darker.
Added to all of this is that when photographing in snow, the cameras natural inclination is to make the snow 50% grey in it’s attempt to properly expose for the scene. So, adding in complexity, I always shoot with + exposure compensation to make sure that the snow comes out white. This brings in more perceived light to the image, which then also can throw your overall exposure a bit out of whack if you’re not careful.
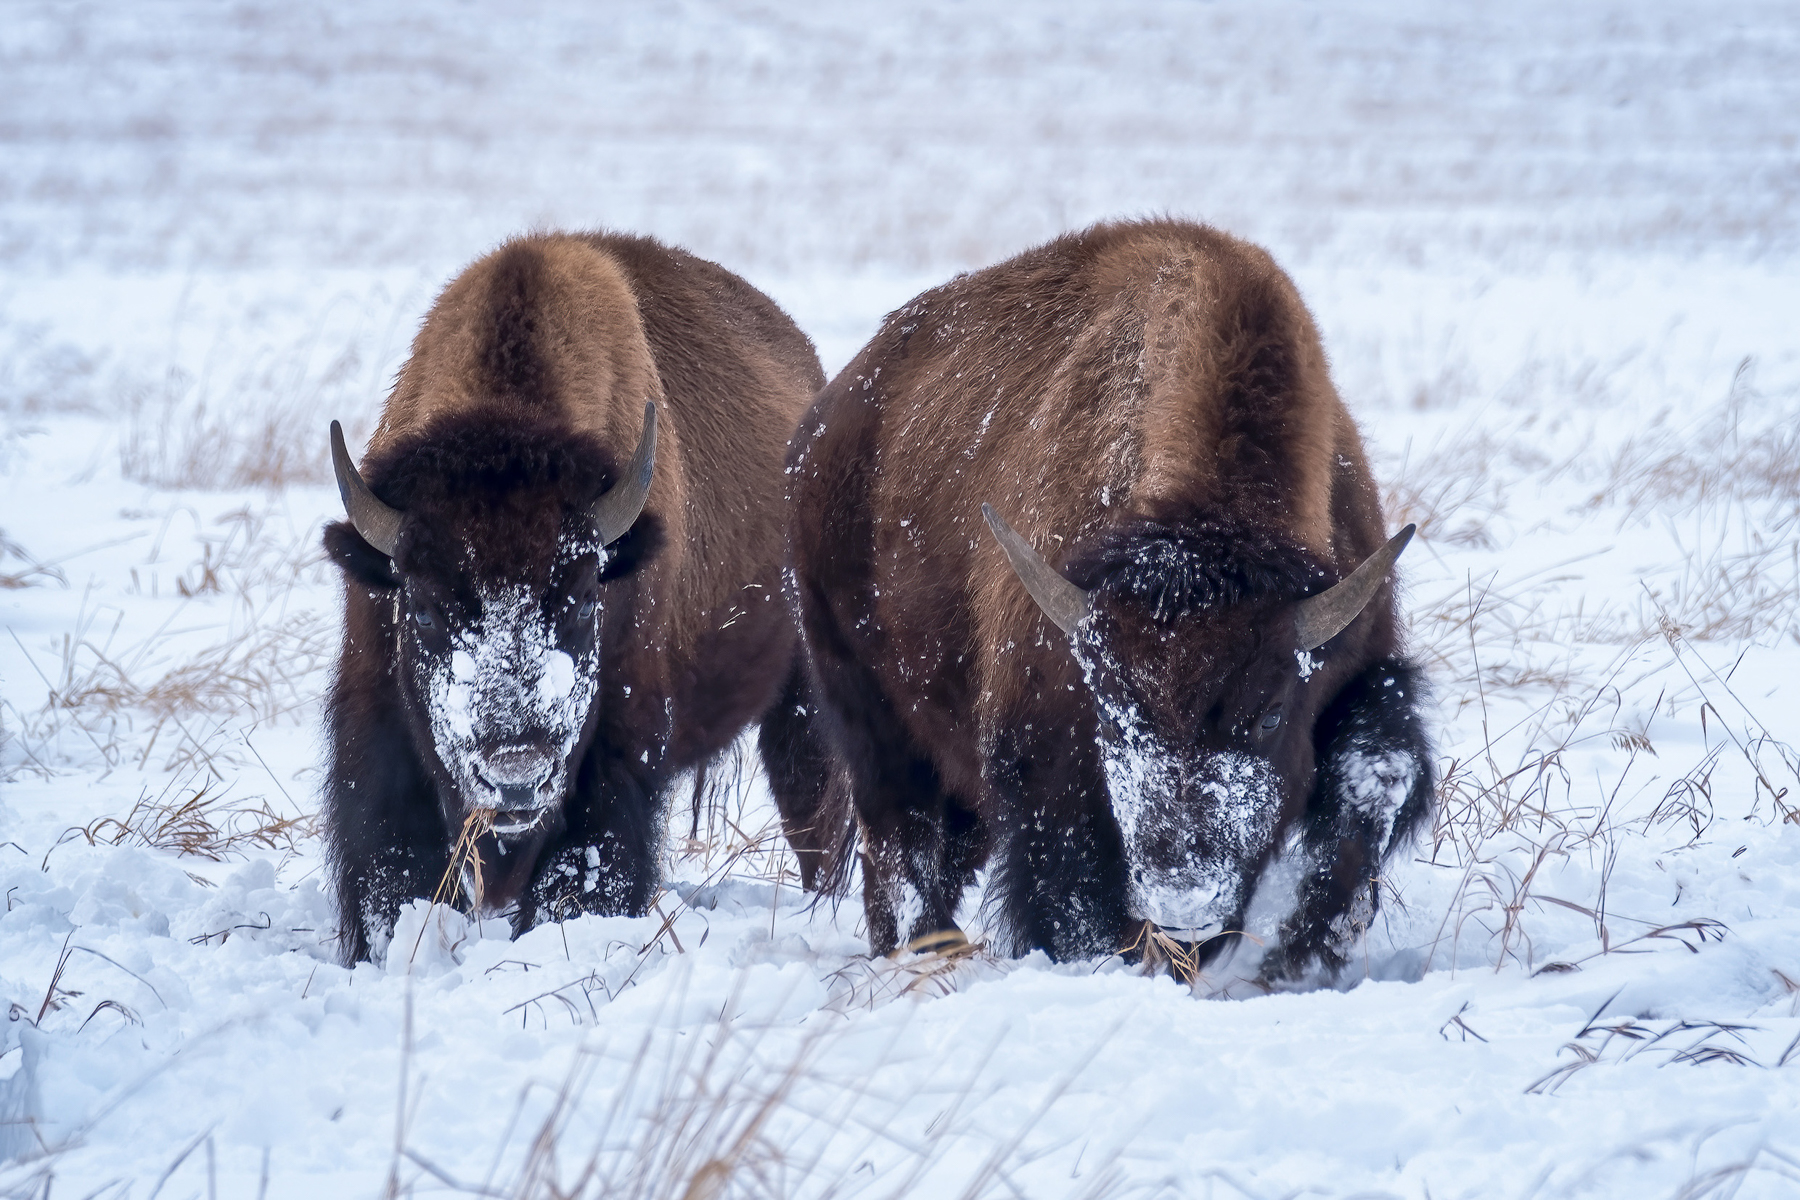
There were days though when the ambient light was bright, either because of thin cloud cover or direct sunlight, which made for lots of high contrast scenes of the bright snow and dark animal. In scenes like this, I had to choose my camera metering modes to help me get in to the range of an acceptable exposure and make sure that my subject was exposed properly. To shoot high contrast scenes these days like the bison below, I always use the SPOT METERING mode. I then meter the exposure of the animal and essentially don’t worry about the surrounding snow. I do shoot in Manual or Aperture Priority most of the time and I’ll use Spot Metering to take a light reading on the animal and adjust my exposure up or down using shutter speed or ISO, depending on what’s important to me in the scene.
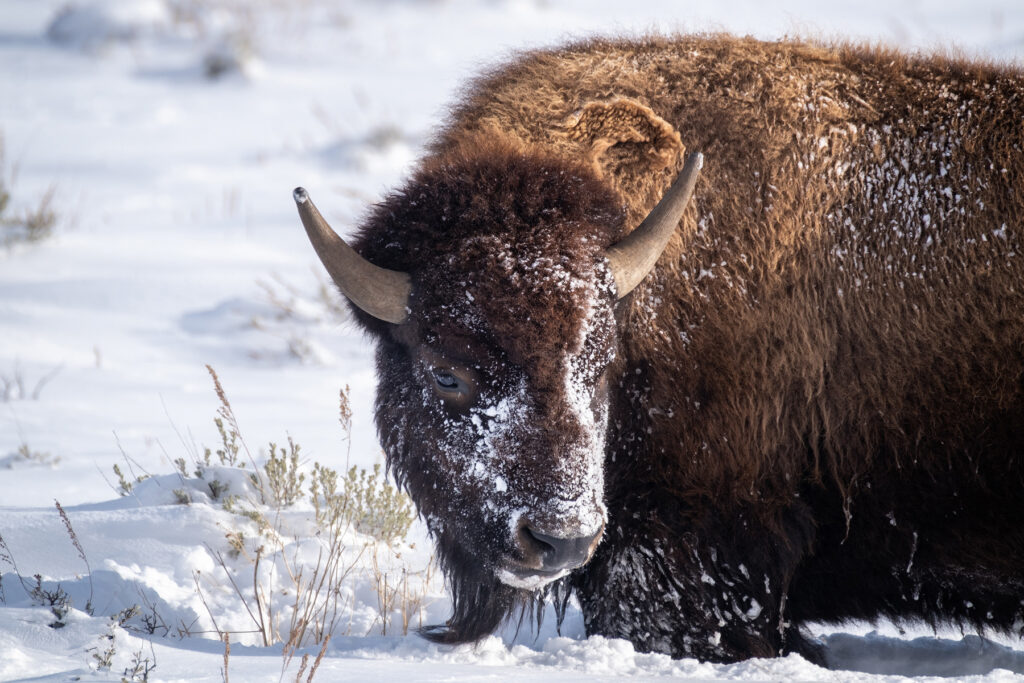
This bison had a very dark coat of fur and was a challenge to capture a well exposed photograph. Because this is a tight shot of the bison, nothing else in the photograph really matters, it’s all about the animal so it was critical that I get the exposure right for my subject.
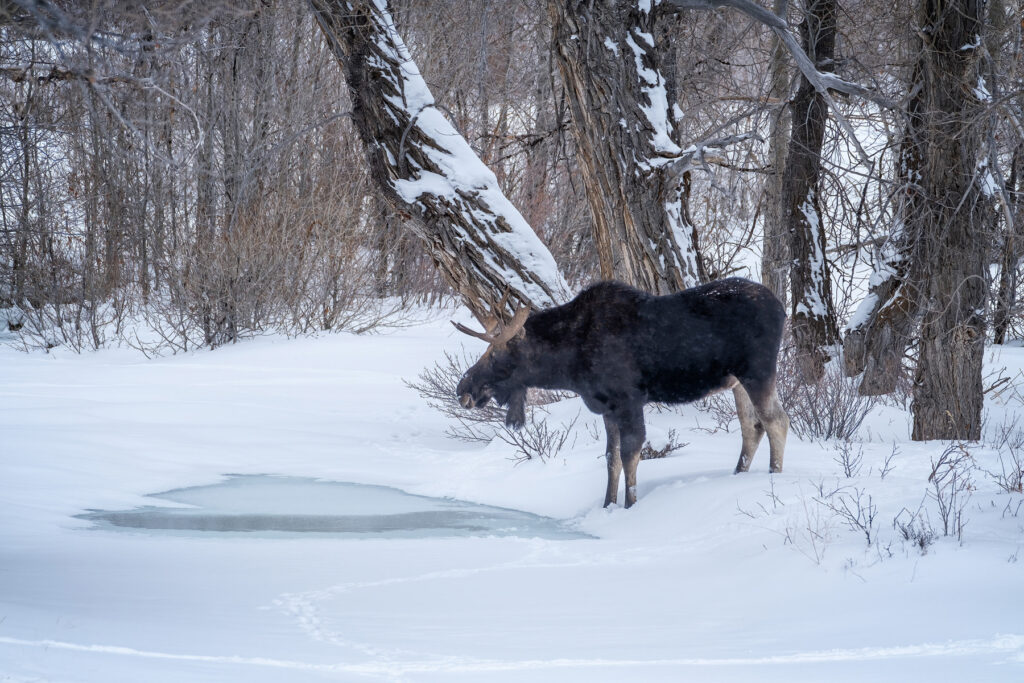
This shot of a moose at a frozen pond was one of my favorites and one that I didn’t have in my portfolio yet. As you can see from the surrounding landscape, it wasn’t too bright. There was a thin layer of clouds overhead diffusing the light. However, because of HOW I shot this scene, I needed to really work to manage my exposure. By including all of the pond, I also ended up including a lot of the surrounding snow which brought a lot of light in to the camera and when compared to the very dark moose, turned this is to one of those high contrast scenes that I needed to manage more closely. So, using spot metering, I metered the moose and came up with an exposure that I felt was OK for the moose, retaining all the details in its fur, while not blowing out the surrounding snow because in a scene like this, the snow and animal tracks are an important part of the composition and I didn’t want to lose details in those.
Back to bright and sunny high contrast scenes, this is a classic winter scene that was challenging to meter and expose properly.
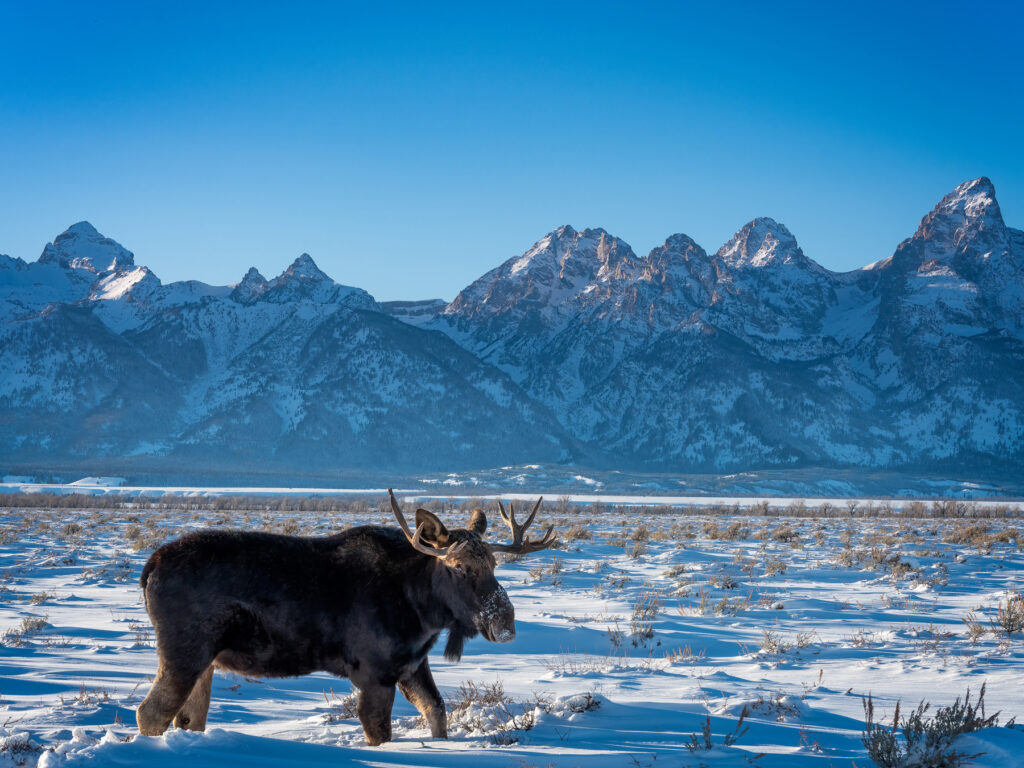
I had bright light on the snow, an animal that wasn’t well illuminated and had lots of shadows on it, plus a lot of background haze and a few highlights on the mountain top. Once again, I turned to Spot Metering on the moose because that is the most important element in the scene. In the RAW file, the moose is a bit darker than you see here and the highlights are a bit brighter. To manage the highlights and shadows around the moose, I used various masking techniques and pushed and pulled on the file to tame down some of the brightest areas. Then did a little shadow recovery on the moose to bring it up to my liking.
If you’ve been paying attention so far, you’ll have noticed that I haven’t mentioned High Dynamic Range techniques for managing high contrast scenes. Of course this is something that you can do in many situations of high contrast. Taking multiple images at different exposures to capture all the details in the shadows, mids and highlights and then blending them together. However, it doesn’t work with well with moving subjects such as wildlife or water, unless you blend two completely different images. For me, HDR is not a technique that I use very often. I prefer the artistry and challenge of getting it “right” (as possible) in the camera in a single frame and one of the ways I do this in high contrast scenes is to utilize my metering modes to better help my camera get me closer to the best exposure possible.
I hope this short article helps you to think about how you use your cameras metering modes and shows how you can use the modes to assist you in photographing high contrast scenes.

Leave A Comment